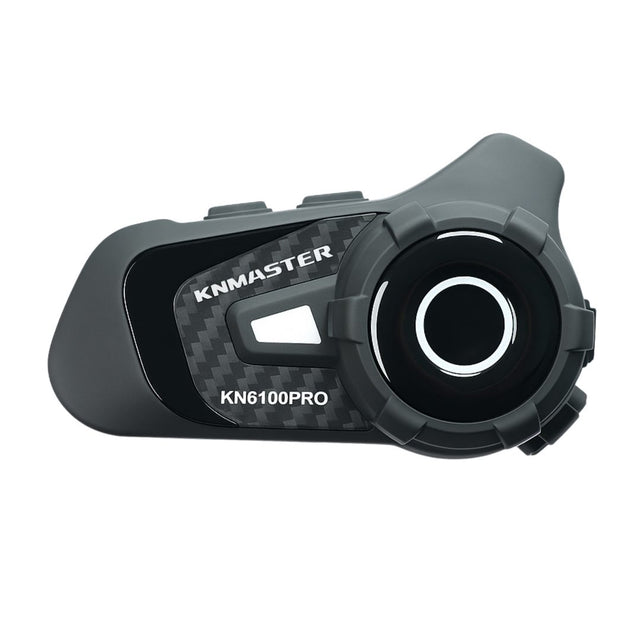
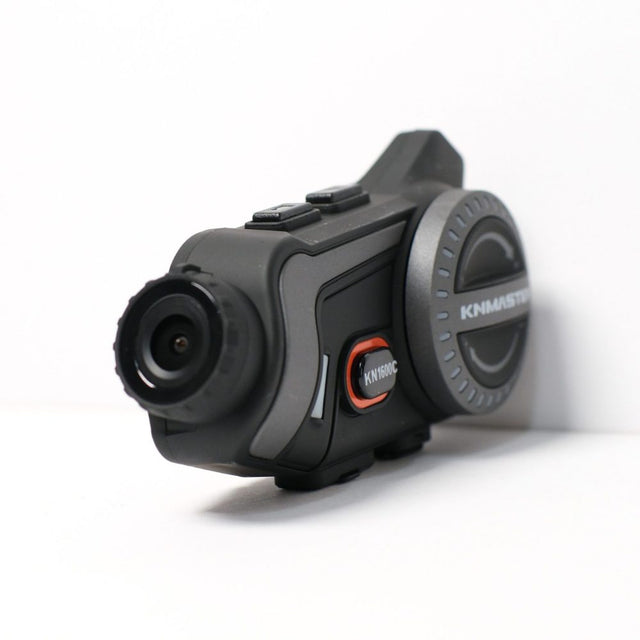
How to Install a Helmet Intercom? Step-by-Step Setup and Pairing
How do you install a helmet intercom? Tips for securing the main unit with a clip or adhesive base, positioning the speakers and microphone, cable management, phone pairing, and sound quality.


Intercom sound quality depends not only on the device itself, but also on how it is attached to the helmet. If the speakers are off by just a few centimeters, the sound will be muffled; if the microphone is in the wrong place, the other person may not be able to hear you over the wind noise. This guide explains how to attach a helmet intercom step by step. Your model’s user manual should always take precedence.
Before You Begin
- Fully charge the intercom and check that all the parts in the box are present (main unit, base, speakers, microphone, charging cable).
- If your helmet’s inner pads are removable, take them out; this makes routing the cables much easier.
- Clean the surface where the main unit will be attached.
1. Secure the Main Unit
The main unit is usually attached to the left side of the helmet, so you can reach the buttons with your left hand while your right hand is on the throttle. There are two common types of base:
| Clip base | It is sandwiched between the helmet shell and the inner pad; it requires no adhesive and can be removed. It may not fit properly on helmets with thick or rounded edges. |
|---|---|
| Adhesive base | Used on helmets where the clip does not fit. Clean the surface with an alcohol wipe to remove grease, press the base firmly into place, and leave it without the unit attached for the time recommended by the manufacturer. |
Position the unit at a height that will not obstruct your view when putting on or taking off the helmet or checking your shoulder.
2. Position the Speakers Level with Your Ears
- Most helmets have speaker pockets under the inner pads; secure the speakers in these pockets with Velcro.
- The center of the speaker should be directly in front of your ear. Put on the helmet, find the position of your ears with your fingers, and align the speakers accordingly.
- If the speaker presses against your ear, it will become uncomfortable on long rides; if necessary, thin out the foam inside the pocket or move the speaker back slightly.
3. Position the Microphone in Front of Your Mouth
- Full-face helmet: The small wired microphone with adhesive is attached inside the chin section, directly in front of your mouth.
- Open-face and flip-up helmet: A boom microphone is used; the tip should be positioned very close to your lips without touching them. On flip-up helmets, check that the microphone does not get pinched when the chin bar opens and closes.
- Be sure to attach the wind muff; it significantly reduces wind noise.
4. Hide the Cables
Route the speaker and microphone cables under the inner pad and cheek pads. The cables should not press against your face or ear or get in the way when you put on or take off the helmet.
5. Pair with Your Phone and Other Intercoms
- Put the intercom into pairing mode (usually by pressing and holding a button; see the manual for details) and select it from your phone’s Bluetooth list.
- To speak with a second intercom, pair both devices using the intercom pairing steps in the manual. Different brands and models may not always be compatible.
- Complete pairing and sound adjustment while the motorcycle is stationary before heading out.
Sound Quality and Safety Tips
- If the sound is muffled, first check the speaker alignment.
- If the other person cannot hear you, check the microphone’s position and the wind muff.
- Keep the volume at a level that does not completely drown out traffic noise, horns, and sirens.
- After rain, check that the main unit’s charging port cover is closed. The waterproof rating is listed on the product page (e.g., IPX6 means resistance to powerful water jets).
To choose the right intercom for you, see our intercom selection guide. Our flip-up helmet guide is also useful for modular helmets.
Helmet Intercoms at MotoWing
If you are in Konya, you can get installation support at our store in Forum Campus Shopping Mall.
Frequently Asked Questions
Which side of the helmet is the intercom attached to?
Usually the left side, so the buttons can be operated with the left hand while the right hand is on the throttle.
Clip base or adhesive base?
Choose the clip base if it fits your helmet properly; it is removable and leaves no residue. If it does not fit, apply the adhesive base to a clean surface.
Where is the microphone attached on a full-face helmet?
It is attached inside the chin section, directly in front of your mouth.
Why does the intercom sound muffled?
The most common reason is that the speaker is not level with your ear. Realign the speakers so they are directly in front of your ears.